Spicy Black Bean Dip

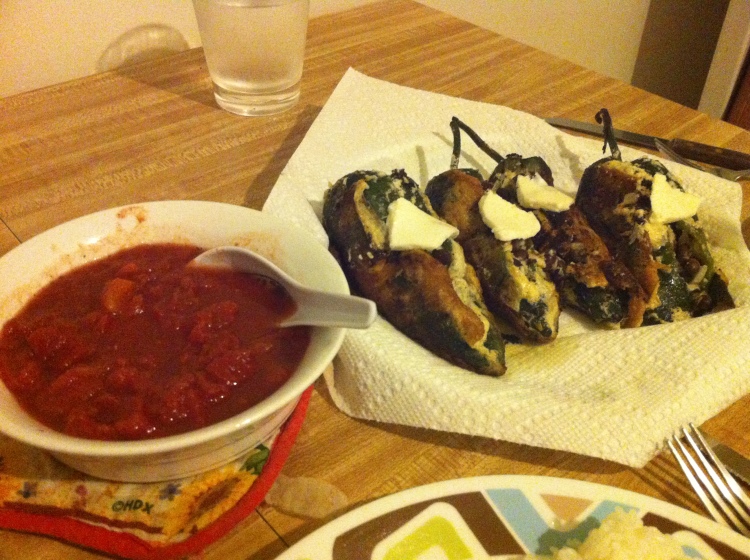
Awhile back, I got a molcajete from Little Village in Chicago. It’s basically a beautifully crafted Mexican mortar and pestle made from volcanic rock. After hours of seasoning it, I’ve made salsas and guacamole and they have been splendid! Spicy, smokey, sweet.. whatever I’m in the mood for – this will be the summer of salsas, dips, and chutneys!

Image

This afternoon, I decided to try something new and whip up some black beans with green chiles to make a delicious “hummus” of sorts. As I was making it, I kept throwing in more things. So feel free to taste and reconfigure as you go through it! Plus, this is a fairly small amount – feel free to double the recipe!

Image

Spicy Black Bean Dip

1 12 oz. can of Black Beans, drained and rinsed
2-3 cloves of Garlic
2-3 Green Chiles, dependent on spicy-tolerance
1-2 T. Cumin Seeds
1-2 T. Dried Oregano
2 T. Hot Sauce (I used Tapatio)
1 Avocado, diced
1 Lemon or Lime (I used lemon, but prefer lime)
Salt to taste
Delicious crackers, tortilla chips, or toasts!

Image

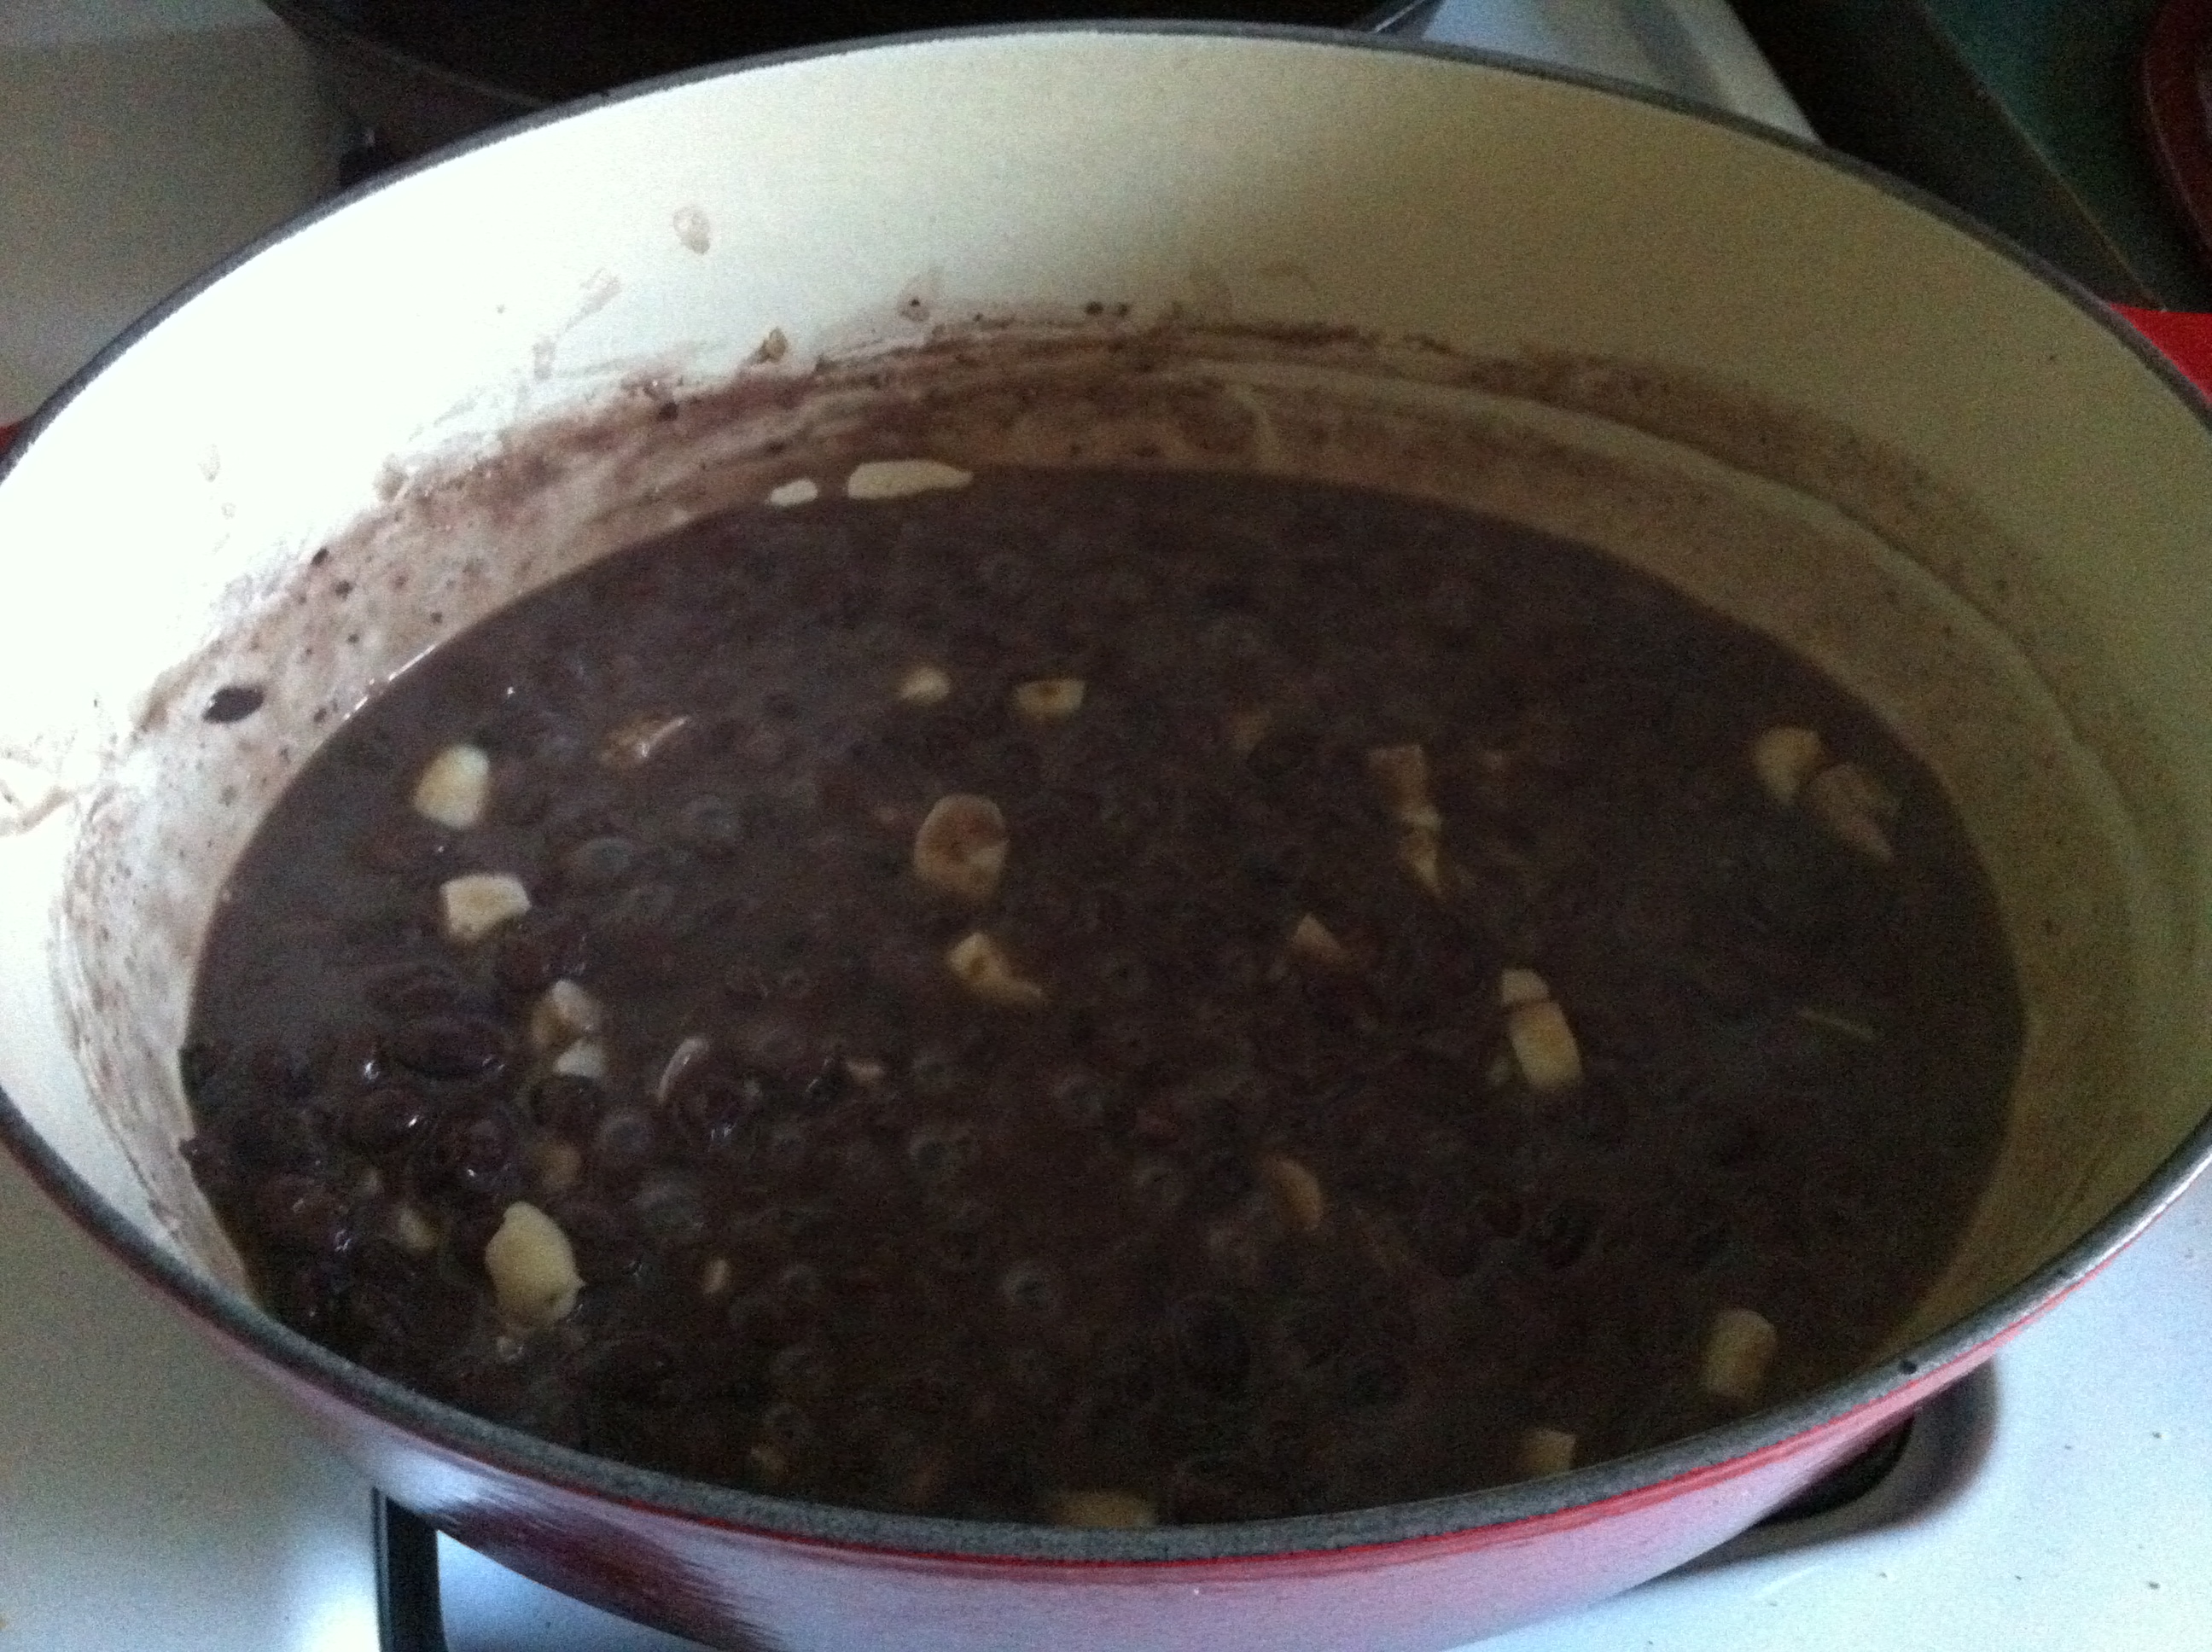
In a mortar, smash up the cumin seeds, oregano, and salt so that it becomes a fine grain. Next, crush in the garlic cloves and green chiles to make a paste-like mixture.

Image

In batches, mix in and crush the black beans, you can either leave some beans whole or make the entire dip smooth. As you’re mixing, squeeze in some fresh lemon juice or lime juice.

IMG_5517

Image

Now, it’s a matter of changing up the flavor profile to your liking. I poured out the mixture from the molcajete and started folding in new ingredients.

I mixed in some avocado, added additional salt to my liking, and a couple dashes of hot sauce. Other ideas for add-ins could be some cilantro, fresh diced tomatoes, or even cheese!

Image

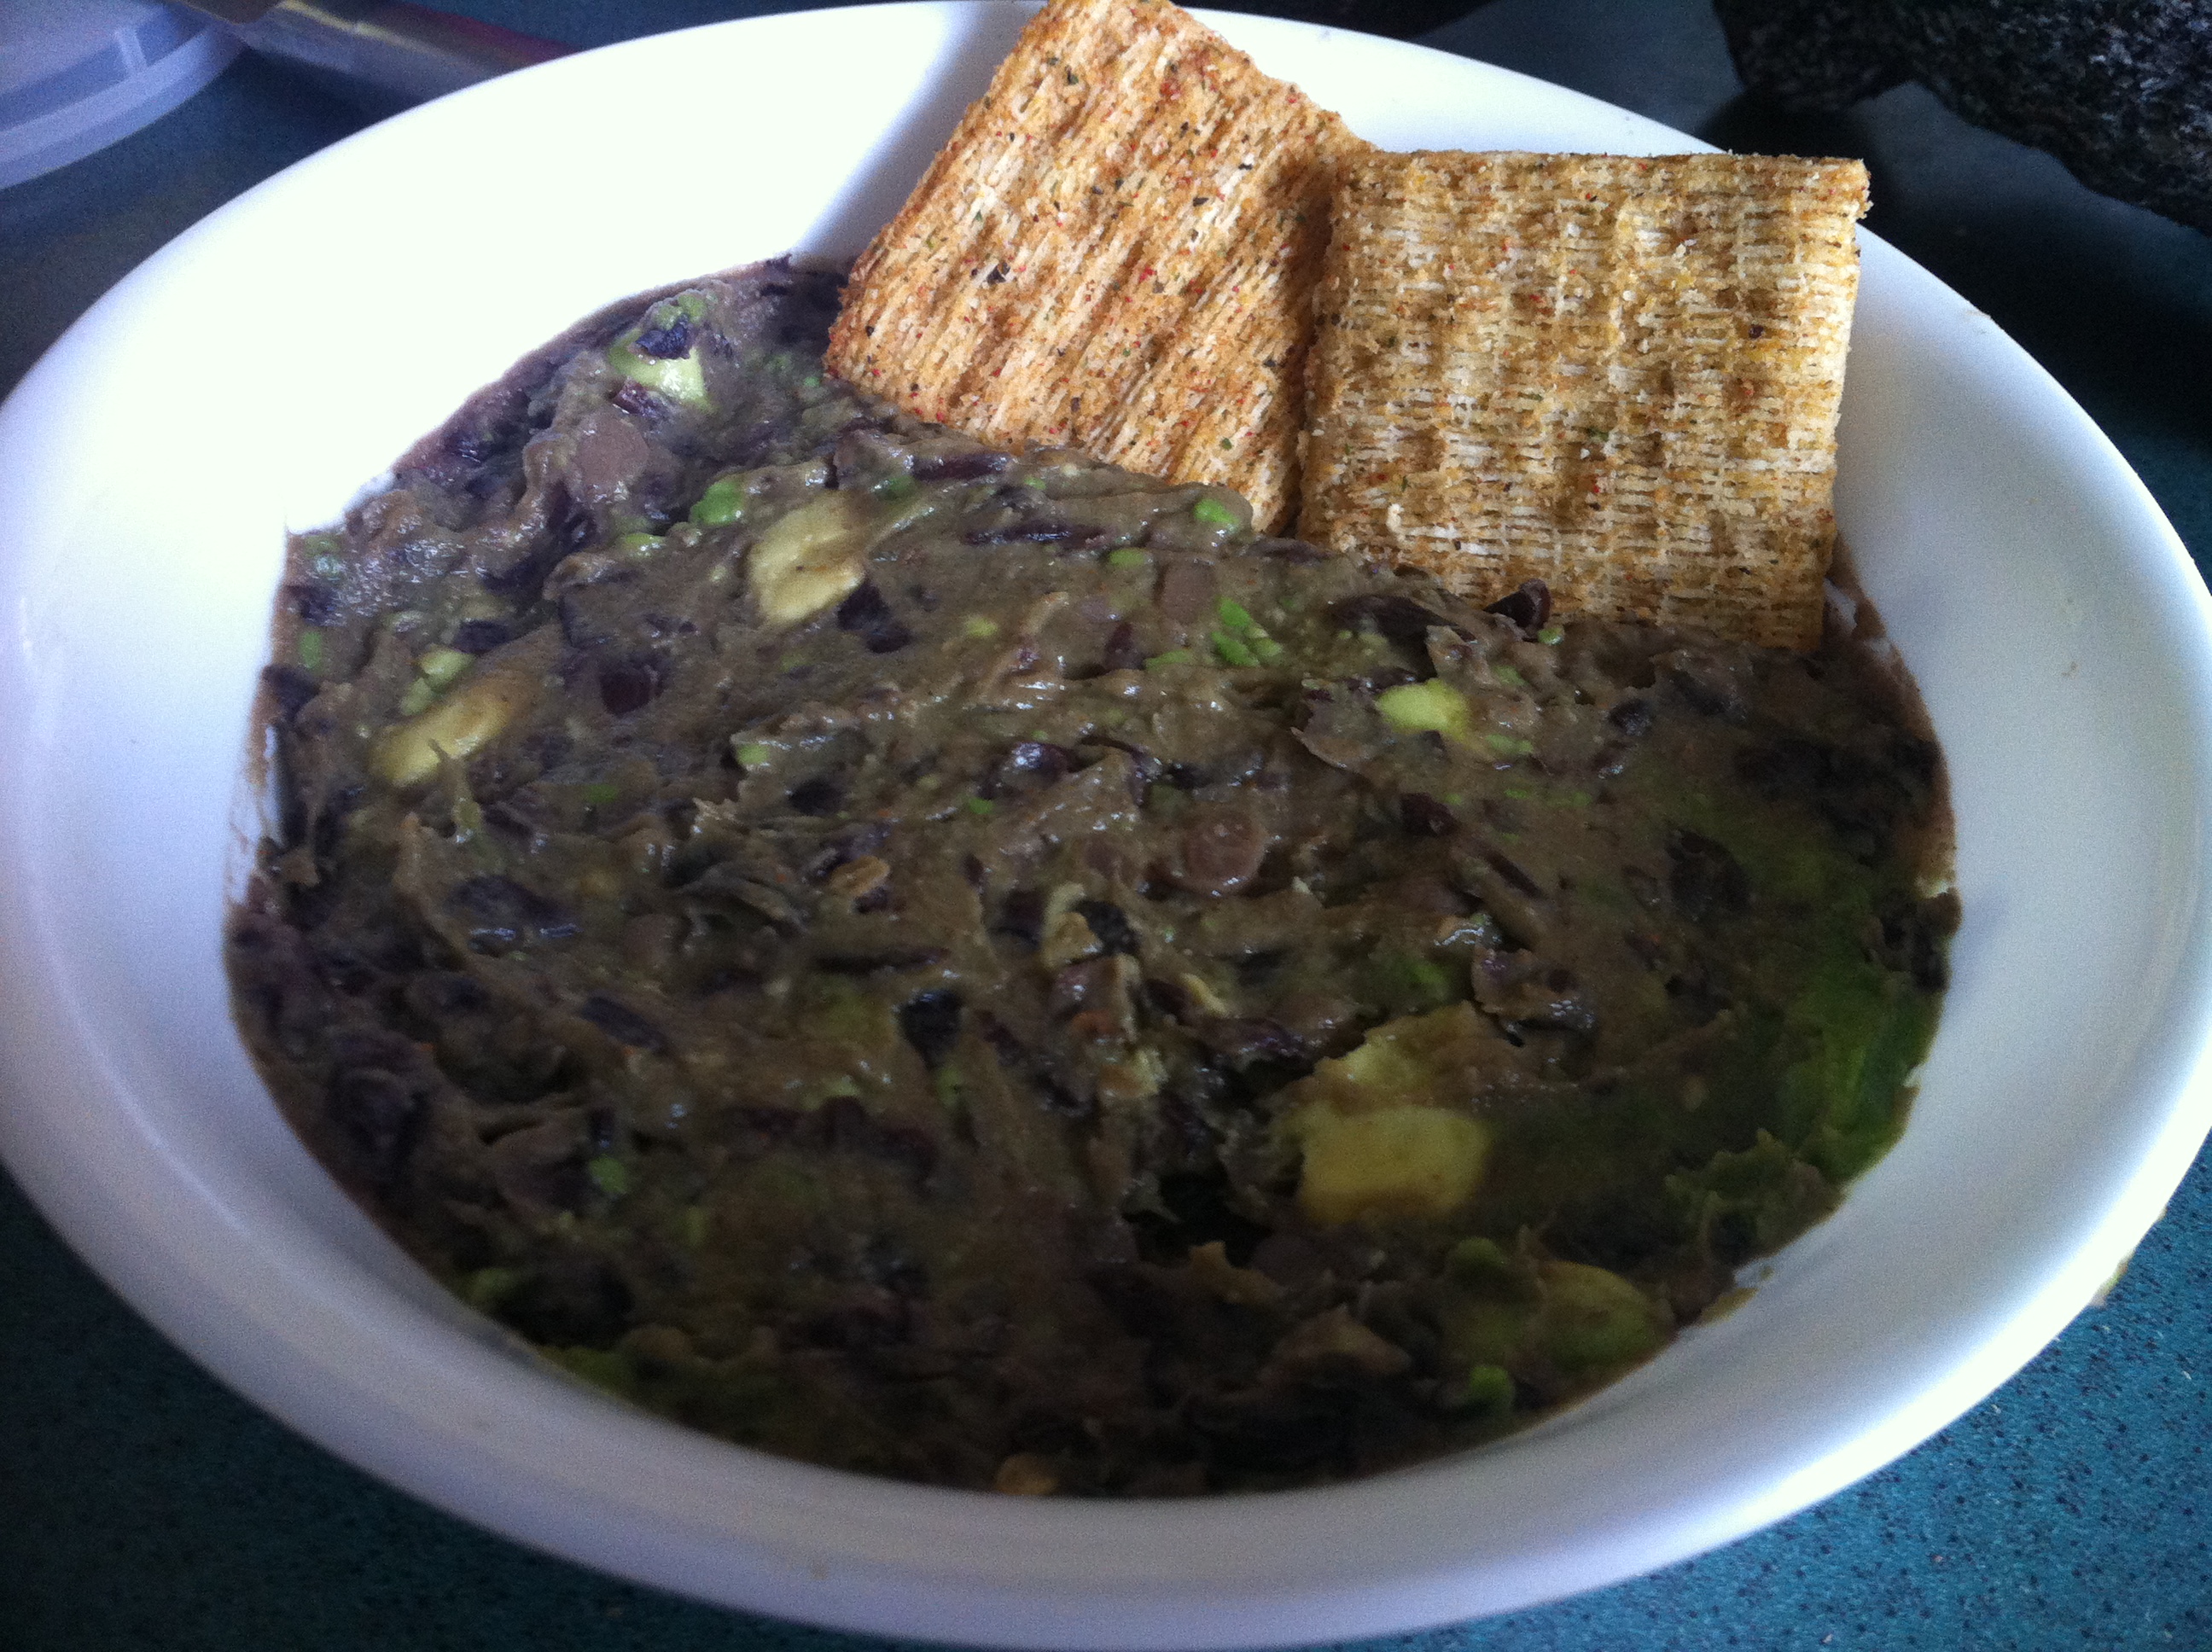
Serve with crackers, tortilla chips, or toast. It’s bursting with flavor, spicy, and rich! Give it a shot. This will be a delicious treat on a sunny hot day!

Love,
Mimi

Ps. WOW. Just put it on some toasted baguette. YUM! LOOK AT THIS.

photo (30)

Spring Vegetables with Bulgar

So I officially graduate with my Master’s in Social Service Administration in a short 12 days. Tomorrow, we are having a potluck with our group to celebrate the year’s end! I knew I wanted to make something vegetarian, seasonal, and hearty. So I went to the store, grabbed all the “spring” I could find in the produce section (sadly, the peas are frozen) and went to work. IMG_5236 I didn’t make much, so feel free to be more generous with your ingredients. Here’s what I came up with: IMG_5248 Spring Vegetables with Bulgar 1 cob of Corn 1 Leek, trimmed and sliced 1-2 T. Garlic, minced 3 spears of Asparagus, sliced 4 small Carrots, diced 5-6 Marble Potatoes (mixed), diced 1/2 c. Peas 1/2 c. Green Beans, sliced 1/2 c. Brown Mushrooms, minced 1/4 c. Bulgar Wheat 3/4 c. Water Olive oil Thyme, Rosemary, Salt, Pepper (Expert tip!: Take your peelings, stems, cobs and place them in a gallon size bag in the freezer. As you cook with more fresh produce, collect these trimmings. Once the bag is full, heat up with some water, herbs, and make your own fresh veggie stock!) In a deep pot, heat some olive oil on high. Once the oil is hot, sauté the garlic and leeks until the leeks are tender. Next, throw in your carrots and potatoes and stir occasionally. Stir in fresh thyme and rosemary stems or dried herbs. As they carrots and potatoes start to brown, mix in the green beans, mushrooms, and asparagus. Season with salt and pepper. IMG_5240 As the mushrooms begin to release liquid, turn the heat down to medium. Continuing stirring occasionally and add in your peas and corn. Remove the herb stems. IMG_5241 Once the corn starts to gain some rich yellow coloring, stir in your bulgar and water. Turn on high. As the water begins to boil, turn the heat down to simmer and cover. The bulgar takes about 8 – 10 minutes to cook. Give it a few final whips with the wooden spoon and serve hot! Or place into a casserole dish to re-heat! It can be served as a side dish or an entree! IMG_5245

Enjoy!

Love, Mimi

Celery & Kale Soup with Croutons

What to do with a bunch of celery stalks sitting in your fridge just waiting to be used.. Looking for a quick appetizer or a light lunch? This soup is absolutely refreshing and a perfect welcome to Spring time.. or at least an encouraging nod towards sunshine!

Image

Celery and Kale Soup

1-2 T. Olive oil
6 stalks of Celery, big chunks sliced
1 c. loosely packed Kale leaves, chopped
1 T. Garlic, minced
1 T. Green onion, sliced
1 can Coconut Milk
3/4 c. Water (or try broth!)
3 T. or a generous pour of Red Wine Vinegar
2 T. and 2 T. Dijon Mustard
1 T. Herbes de Provence Additional Thyme & Rosemary, if needed Salt and Pepper to taste

Croutons
1/2 Day Old Baguette, diced
2-3 T. Olive oil
Parmesan, grated (optional)

To make the croutons: Preheat oven to 325 degrees. On a medium sized cookie sheet, lined with either a silpat or aluminum foil, place the bread pieces in one layer. Bake the bread for about 10 minutes. Once the bread has dried out and lightly browned, pour on the 2-3 T. of olive oil evenly across the croutons. Continue to bake until each piece is perfectly golden brown! Once the croutons are ready, if you’d like, evenly grate some fresh parmesan cheese on top!

Image

For the soup: In a medium soup pot on medium heat, heat the olive oil and sauté the garlic, celery and kale for about 4-5 minutes with a pinch or two of salt, herbes de provence, black pepper, and the first 2 T. of dijon mustard. Then add the water/broth, increase the heat to high and cover.

Once the liquid is boiling, bring heat down to let it simmer. Once the celery and kale are tender, pour in the coconut milk and green onion. Stir it up!

Turn off the heat, either using an immersion blender or a regular blender, blend up the soup to your preferred consistency. I like it extra smooth. Once the soup is to your liking, throw in some more dijon mustard. Give a pour of your red wine vinegar (I “guess-timated” about 3 T.). Finally, season the soup to your liking! I decided to add some more rosemary and thyme to the soup, but feel free to play around with flavors!

Image

Serve hot with some parmesan croutons on top! This soup was refreshing, bright, and had a great zest. The crispy croutons were a perfect compliment to the lightness of the soup. The flavors were perfect for lovely Spring day!

Now if only Chicago could get it’s act together and bring on Spring! Here’s to hoping for warmer weather soon!

Love,

Mimi

Eggplant Roll-Ups

So I made ratatouille the other day and I had some leftover eggplant. I decided to have a lavish meal since I am officially on winter break! I was also in need of clearing out some things in my fridge. My aunt bought some skewers of herbed goat cheese and roasted beets for me this past weekend and I wanted to use those, too! This was the end result:

IMG_2999

Eggplant Roll-Ups

1/2 – 1 Eggplant, thinly sliced vertically
4 oz. Soft Goat Cheese
1-2 T. Fresh Parsley, minced
1-2 T. Fresh Chive, minced
1-2 T. Fresh Basil, minced
1 T. Fresh Lemon juice
1-2 T. Heavy Whipping Cream
Black Pepper
1 Beet, roasted and chilled, minced
1 15 oz. can of Diced Tomatoes
2 tsp. Dried Oregano
2 tsp. Crushed Red Pepper
1 T. Garlic, minced
3 oz. Fresh Mozzarella, sliced
Olive oil
Salt
Pepper

Serve over a delicious grain such as couscous, pasta, or rice!

Eggplant Roll-Ups

After slicing up the eggplant into thin vertical slices, I decided to whip up the herbed goat cheese with cream, lemon juice, and the minced beets resulting in this beautiful pink!

Then I placed it in the fridge to stay fresh.

IMG_2987

Then, I brushed the eggplant slices with olive oil and lightly sprinkled cracked black pepper and salt. I placed them in the oven at 350 degrees for approximately 10 minutes.

IMG_2990

While the eggplants were roasting, in a medium sauce pan over medium-high heat, I placed 1 T. of olive oil and sautéed some minced garlic. Then I poured in the can of diced tomatoes. Seasoned with oregano, salt, and crushed red pepper flakes.

IMG_2988

I added about 3/4 c. of water and brought the sauce to a boil then let it simmer. Once the eggplant was ready, I let it cool for a few minutes and then rolled them up. I placed about 3/4 – 1 T. of goat cheese mixture inside and put them into a greased baking dish.

IMG_2994

Once in the dish, I poured in my tomato sauce and placed the slices of mozzarella cheese on top just covering the eggplant.

IMG_2996

Since all of the ingredients are already cooked, the last step is broiling the cheese on top.  I set the oven to broil and let the eggplants cook for another 5 – 6 minutes until the cheese had all melted and began slightly browned on top!

I served my eggplants with couscous and took the remaining sauce left in the dish and placed more on top.

IMG_2999

While there were quite a few steps involved, this dish was well-worth the effort! The cheese inside was rich and creamy which paired perfectly with the spicy and acidic tomato sauce on top. If I could change anything, I would probably have just made more and maybe incorporated more beets into the goat cheese mixture. The beets were not super prominent in the dish, but I did love the color they added to the cheese.

Try it out! It’s delicious!

Love,
Mimi

Ps. Keep warm! It’s cold out there! Happy Winter!

Lentil Loaf

This evening, I was in search of a hearty, warming, and extra-filling dinner to be paired with fresh-from-the-stalk Brussels Sprouts that Esther brought home from California and spicy mashed sweet potatoes leftover from Thanksgiving.

My sister, Jenny, suggested trying out a lentil loaf. While time consuming, it was totally fun and worth the experiment! Not perfect, but pretty tasty! Apologies that it looks so unappetizing..I promise it was good!

Check this out:

Image

Lentil Loaf

1.5 c. Dried French Lentils
3 c. Water
1 T. and 1 T. Tomato Paste (separated)
2-3 Bay Leaves
1/2 Onion, diced
2 stalks Celery, diced
1/4 c. Cherry Tomatoes, halved
2 cloves Garlic, minced
1 T. and 2 T. Dijon Mustard
1/2 T. Herbes de Province
1/4 T. Cumin
1/4 T. Paprika
Salt and Pepper to taste
2 Eggs
1-1.5 c. Breadcrumbs (potentially less to avoid dryness)
Olive oil

Prepare the lentils in water with 1 T. of tomato paste mixed into the water and the bay leaves. While the lentils are cooking, in a medium sized skillet on medium-high heat, sauté the onions, garlic, and celery until the onions become translucent and golden. While they are cooking, add in the dijon mustard, the other T. of tomato paste, the herbs and spices. Then fold in the cherry tomatoes. Once cooked through, pour into a mixing bowl.

Image

Drain the lentils and pick out the bay leaves. Pour in the lentils into the mixing bowl and mash ’em up! Add the remaining dijon mustard. Add some salt and pepper to taste. Mix in the eggs and breadcrumbs into the lentil mixture until it becomes cohesive. Pour in about 1 T. of olive oil.

Image

In a heavy pan, either sprayed/brushed with oil, form your loaf. Bake the loaf at 350 degrees for about 20-25 minutes. Then bake at 400 degrees for another 5-10 minutes.

Image

Take out the loaf and let it stand for a couple minutes so it’s cool enough to cut. Slice it up and serve!

I have to say, this loaf was extremely flavorful, but did lack a good amount of moisture. I think it can be remedied with less breadcrumbs, more olive oil, maybe some mushrooms, and a beautiful tomato glaze. I ended up whipping up a glaze for my leftovers with some tomato paste, soy sauce, dijon, apple cider vinegar, and a dab of honey, but use the glaze of your choice! Even a sweet ketchup glaze would be yummy!

Image

Beet and Herbed Goat Cheese Pizza

With our garden flourishing and autumn approaching, Esther and I have been harvesting like maniacs before we have to say good bye to a lot of our plants as the cold weather comes in. We have bags and bags and bags of fresh herbs piling up in our apartment dying to be eaten.

Last night, I decided to mince up our herbs and whip it with some goat cheese and cream as the base for a delicious beet pizza! It was gorgeous, rich, and delicious! The herbs created a brightness to the pizza and gave interesting new flavors for each bite. One time, you’ll taste parsley and the next, you get a hint of mint! Plus, it was real easy to make!

Image

Beet and Herbed Goat Cheese Pizza

8 oz. Soft Goat Cheese
1-2 T. Fresh Parsley
1-2 T. Fresh Green Onion
1/2-1 T. Fresh Rosemary
1-2 t. Fresh Chocolate Mint
1-2 T. Fresh Basil
1-2 T. Heavy Whipping Cream
Black Pepper

2 Medium Beets, peeled and thinly sliced
2 lb. Pizza Dough
Flour
1 bunch of Beet Greens
3/4 c. Beet Green Stems, sliced
1/2 c. Parmesan Romano Cheese, grated
Olive Oil
Salt and Pepper to taste

Set your oven to 450 degrees Fahrenheit. Then, prep your beets. Save your stems and greens! Peel and thinly slice your beets into circles or half-moons. Set aside.

Image

Rinse and slice up your beet greens and stems so that they are ready to sauté right before you pop the pizzas into the oven. Mince up your fresh herbs. I did a mixture of green onion, parsley, rosemary, basil, and a touch of mint, but feel free to experiment with different flavors!

Image

Next, place your soft goat cheese into a mixing bowl and, a spoonful at a time, fold in your fresh herbs. Take your time and pour in as little or as much whipping cream as you need to help with the mixing process. I used the full 2 T. of cream, but only because I like my cheese extra whippy! Season with some fresh ground pepper to taste. Pop the cheese into the fridge when it’s ready and start making the beet greens.

In a medium skillet, sauté the stems until they are just tender with some olive oil. Throw in the greens until they have wilted and sprinkle on some salt. Now it’s time to prep the dough.

Similar to the shiitake mushroom and gorgonzola pizza, knead out any air bubbles in your pizza dough. Split the dough into two pizzas. Use your judgement in terms of circumference. You are going to want a denser outside crust and a thinner inside!

Dust a pan with flour and place the dough on top! Lightly sprinkle some salt onto the dough and brush on some olive oil on the surface.

Next, grab your cheese, while saving about 1/4 of the cheese mixture, place dollops around the surface and use a knife to spread out the big hunks of cheese. Once the dough is covered, neatly place your beets evenly across the dough. Brush the beets with olive oil so that they shimmer and to help with the cooking process. Season your pizza with salt and pepper to your liking!

In different spots on top of the pizza, spread out your greens and stems.

Image

Pop into the oven for about 8-9 minutes, then open the oven and sprinkle the parmesan cheese on top! Cook for another 5-6 minutes until the pizza’s crust is golden brown and the beets appear to be cooked all the way through.

Image

Place the pizza onto a serving platter or, in our case, a cutting board to cool and add some additional dollops of goat cheese onto the pizza that will melt just in time for serving! Enjoy!

Image

This blood red pizza is absolutely mouthwatering! I am so happy that we made so much of it because I am so thankful for these leftovers! The beets roasted perfectly highlighting their earthy flavor and they balanced nicely with the acidity and creaminess of the goat cheese. And really, who can say no to a pizza this beautiful? Seriously.

Love,
Mimi

Black Bean and Cheese Chiles Rellenos

Now that me and Esther live together, we are going to make all the delicious things and we’re pulling out the big guns! The Logan Square Farmer’s Market wins again for having beautiful poblano peppers and I knew exactly what I wanted to make this week.

Thanks to Eddie for teaching me the techniques to the perfect chiles rellenos! Also, conveniently, there are tons of little bodegas in the neighborhood packed with the right cheese!

Chiles Rellenos

4 Poblano Peppers
3-4 oz. Queso Chihuahua
1 c. Black Beans
1/4 White Onion, minced
2 Egg Whites, 1 yolk separated
Dried Oregano to taste
Salt and Pepper to taste
1/2 Can Diced or Puréed Tomatoes
Toothpicks*

First, roast/char your peppers over the flame on the gas stove til they start to blister and turn black. Each time a pepper is fully blackened, place in a mixing bowl and top with saran wrap or a baggie to let the peppers steam. Leave the peppers to steam while you go through the rest of the food prep.

Image

Mince up your onion, grate your cheese, and strain your black beans! Mix all together and season with oregano, salt, and pepper to taste! Note that the cheese is pretty salty already so you may not even need to use salt!

Image

Once your stuffing is all ready to go, pop it in the fridge to keep it nice and fresh!

Pull out your peppers and rinse them with cold water and brush away the charred pieces to reveal the smooth green flesh. Make a small-medium incision in the flesh and remove/rinse (as best you can) the seeds from the inside of the pepper. I like to leave some just to keep a bit of a kick, but it’s not for everybody. Esther’s had quite a bit of seeds and she said it was kind of “a punch in the face,” but in a good way!

For the egg batter, place your egg whites in a mixing bowl and whisk them into submission to stiff peaks. Then pour in the egg yolk and whip it up to a nice cream color.

Stuff your peppers with the filling, but not so much so that they are overflowing. We kind of stuffed ’em a bit too much. If you have toothpicks, it is best to seal your peppers so that they do not spill in your pan, I like to do about 3 per pepper. Me and Esther definitely forgot these, so we made a makeshift seal with a fork. Whoops!

IMG_1977

In a medium sized skillet, pour in 1 T. of oil on medium-high heat. As the oil is heating up, dredge your peppers in the batter.

Once the oil is hot enough, place the peppers into the oil and let them cook on each side for about 2-3 minutes or until the batter begins to brown.

IMG_1991

If needed, re-batter and fry again if some batter falls off in the process.

Let the peppers rest on a plate with paper towels to soak up the oil and to let the cheese fully melt and cook the insides. Warm the canned tomatoes in a pot and lightly season if necessary.

IMG_1993

Serve with the tomato sauce on rice! I added some extra slices of cheese on top! What a delicious and hearty meal chockfull of green things tonight! We served our peppers with rice, salad, sliced avocado, sautéed green beans with lemon thyme, AND LOVE.

IMG_1994

Bon appétit !

Love,
Mimi

Eggplant Stewed in Black Bean Garlic Sauce

So.. Soups & Roots & Rants has flatlined on the blogosphere – this was a crazy summer and again, we apologize, but never fear! Now that summer is winding down and the weather is beginning to change, the days of cooking and photographing have returned! I’ve officially moved into my new apartment in Chicago with my gardening and cooking friend, Esther. It has been wonderful!

But I have to say it didn’t feel like I was truly moved in until we cooked our first meal together. Esther bought these beautiful Italian heirloom eggplants at the Logan Square farmer’s market and they were too beautiful to cut up – so we left them whole and stewed them up!

Image
Here’s what we created:
Image

Eggplant Stewed in Black Bean Garlic Sauce

1 can of Black beans, half drained
3-4 Cloves of Garlic, chopped
1 1/2 c. Water (more or less if needed)
1 T. Olive oil
2-3 T. and 1 T. Soy Sauce (separated)
2 tsp. Crushed Red Pepper
1 1/2 T. Corn Starch
14 Italian Heirloom Eggplants

First, chop off the tops and create a small incision of an ‘X’ on the bottom of each eggplant. Set aside until the sauce is ready to go!

In a deep and wide pot on medium to high heat, sauté the chopped garlic until it begins to slightly brown. Then pour in the can of black beans and occasionally stir. Once the mixture begins to boil, reduce down to a simmer. Add in the 2 T. of soy sauce and some water. This will help the black beans break down to create the sauce.
Image
In a small bowl, mix together the corn starch, 1 T. of soy sauce, and 1-2 T. of water to create a good thickening agent for the sauce.

Once the sauce has reduced down to an even balance between paste-y and watery, place in the eggplants on their sides and cover.
Image

Image
After approximately 8-10 minutes, uncover the eggplants and flip them over so that each side stews evenly in the pot. Cover for another 4-5 minutes until the eggplants are tender and easily punctured with a fork.
Image
During the cooking process, the eggplants will release quite a bit of liquid which adds tremendously to the sauce! If you feel like it needs any additional seasoning before serving, have at it!

Serve with some extra sauce over rice next to some sautéed greens (we used beet greens!) or paired with a meaty protein! Italian heirloom eggplant’s creamy texture paired with the sweet and mild flesh went nicely with my homemade sauce!

We had some leftover sauce to store away for another meal! Perhaps for another meal throw onto some rice or top it onto another delicious veggie, meat, or tofu! Yum!

Love,

Mimi

An Update + Tasty Lunch

Hi all,

We are terribly sorry that in the whirlwind that is the summer, we have not had the opportunity to update our blog.

Francisco graduated from college!! Whee! For the past month-ish, he has been living in New York City under a Publishing Fellowship at NYU. He just finished his program and now is on the job hunt with a beautiful resumé ready to go!

Mimi finished her first year of graduate school! With straight A’s, too! For the past month, she has been working at the Sonia Shankman Orthogenic School, a residential treatment facility in Hyde Park for Youth. She absolutely loves her job and is revving up to start her second year field placement in August working in a Middle School and a Junior High School in the Northern Suburbs!

Francisco recently came home to Chicago for a little while and of course, Mimi picked him up from the airport to make this delicious meal!

Francisco assembled this GORGEOUS cheese and cracker platter:

Image

It includes: Crackers, Seedy Wheat Bread, Honey Goat Cheese, Cheddar Cheese, Dried Cherries and Apricots, Slice Almonds, Homemade Jam

Then together, we produced this delicious salad: Image

The highlights include: Sautéed Butternut Squash, Mango Balsamic Glaze, and Golden Raisins.

We are doing well and eating well (to the best of our ability!) We will cook together (or on our own) very very soon!

As this post is being made, Francisco is conjuring up a “dream recipe” to share with you all!

Off to be more productive!

Love,

Mimi and Francisco

Shiitake Mushrooms & Gorgonzola Pizza with Arugula

Tonight, me and my workwife Erica got together to study for our final. We planned it out perfectly. Make a meal, study while we cook, study while we eat, study after we eat, drink some, and then have an awesome slumber party.

We went to the store and handpicked our ingredients. I suggested Medici pizza dough. Erica requested a stinkier cheese and arugula. I suggested shiitake mushrooms. It turned out perfect. I mean, come on. Look at this pizza:

photo (21)

1 lb Pizza Dough
1/4 c. Flour
2 c. Baby Arugula
1 1/2 c. Gorgonzola Cheese, crumbled
2 c. Mozzarella Cheese, grated
1/2 c. Parmesan Romano Cheese, grated
1/4 lb Shiitake Mushrooms, thinly sliced
1 medium/large Shallot, diced
1-2 cloves of Garlic, minced
Olive oil
Dried Oregano
Salt and Pepper to taste
Egg (optional – but really, you are gonna want this egg)

Preheat the oven to 450 degrees.

In a medium saucepan on medium to high heat, pour in some olive oil. Sauté the onions and garlic until the onions become translucent. Then add the shiitake mushrooms until they release majority of their moisture and become fragrant. Season generously with salt and pepper.

photo (15)

Knead out any air bubbles in your pizza dough. Split into two pizzas or leave it as one large pizza. Use your judgement in terms of circumference. You are going to want a denser outside crust and a thinner inside!

Dust a pan with flour and place the dough on top!

First, build a layer with mozzarella cheese and gorgonzola cheese. Then pour onto it, the mushroom mixture! Throw on some more cheese including the parmesan! Season the pizza on top with the dried oregano!

photo (16)

Pop it into the oven for about 20-25 minutes until the crust is golden brown and the cheese gets all bubbly!

photo (17)

If you like it, then you shoulda put an egg on it. If you plan to put an egg on top (don’t screw up like I did and let the egg move all over the sides..) and place it on top of the pizza about 5-8 minutes before the pizza is done cooking. The egg will be ready when all of the egg white is set and some of the yolk starts to set.

photo (19)

Serve and top with some arugula! The best way to eat this is with some prosecco and a CBT study guide and case study. I loved the earthy flavors of the shiitakes with the gorgonzola cheese! You cannot go wrong here.

photo (22)

Happy Finals Week!

Love,

Mimi